
Installing aftermarket speakers are a good way to improve the quality of the music you listen to while driving in your car. Although adding an aftermarket stereo and amp would be preferable, many of these newer vehicle don’t make it easy or at the very least inexpensive… So this will simply be a tutorial on how to install the 6.5″ Speakers location in the bottom of each of the four doors. Tweeters were not installed at this time but the removal process of the door panel will be the same.
For this job, you will need a ratchet with three different socket sizes which include a 5.5mm (or 7/32), a 7mm and a 10mm. Also needed would be a plastic/nylon spuger, trim removal tool or anything that will help remove the trim pieces and interior door panel. You will also need speaker brackets to match the factory bolt pattern and wire harnesses to attach between the speakers and the factory harness. You could of course run your own wire but this is to retain the factory setup incase you sell the car in the future and want to reinstall the old equipment later. Links to both the brackets and the wire harnesses will be linked below. Speaker Brackets:
https://www.crutchfield.com/p_120825605/Metra-82-5605-Speaker-Mounting-Brackets.html?tp=2824 Speaker Wire Harness:
https://www.crutchfield.com/p_120725602/Metra-72-5602-Speaker-Wiring-Harness.html?tp=3097
First you’ll remove the plastic trim that is covering the 10mm bolt behind the door handle. Use the plastic spuger to pry underneath the side that is next to the metal mesh. The trim piece uses straight standoffs on this side and uses to angled clips to hook on the opposite side. The picture below shows what the clips looks like to give you a representation of what you’re working with.

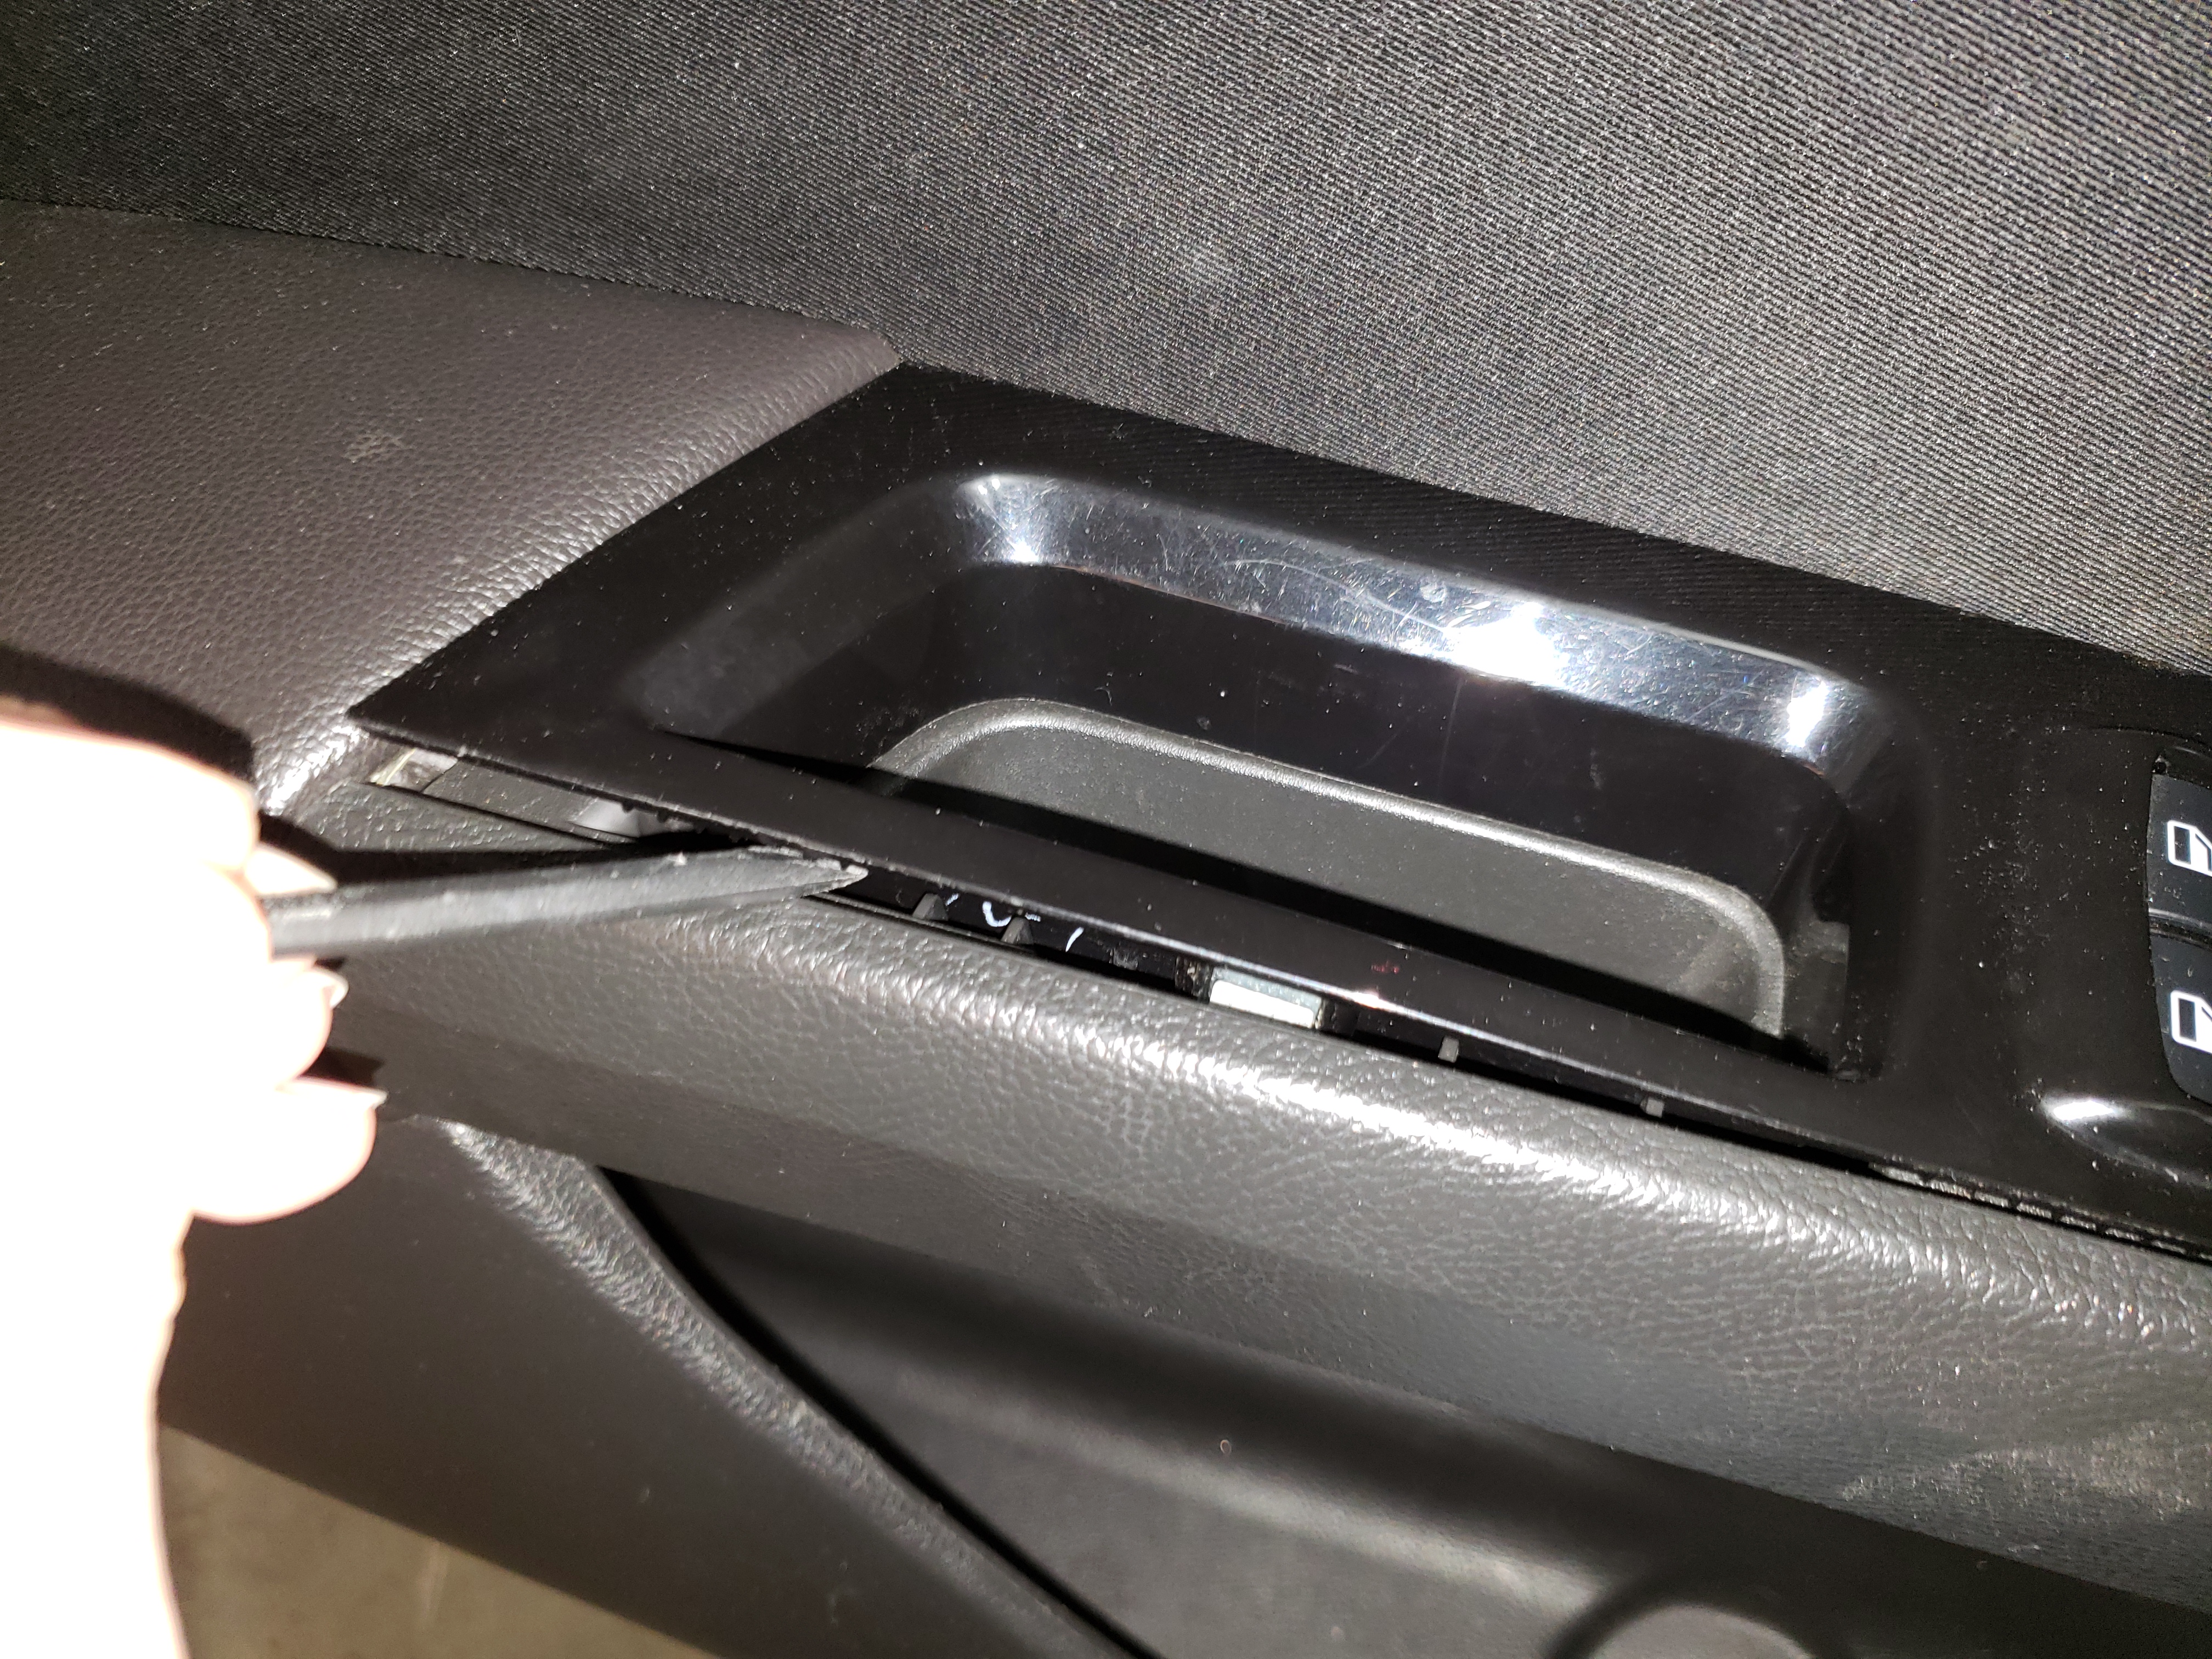
Next you’ll need to remove the trim that is holding the switches for your electric window motors to expose the two 5.5mm bolts. Place your hand inside the cut-out and slightly pull up and towards you to get a gap to form for the plastic spudge or trim tool. While gently pulling upwards, slide the tool along the side that is facing you to release the metal retention clips. Once all the the ones on your side are unlatched you can carefully pull up on the trim piece to release it on the opposite side.
Once the trim piece is released, disconnect the wire harness by pressing the retention tab down and pullin the connector out. Be sure not to pull on the cables themselves as this could damage them or yank them out of the connector.

The last two 7mm bolts that hold the interior door panel on are located at the bottom and are angled at 45°.

Once all of the bolts are removed you’ll need to disengage the retention plugs located along the perimeter of the door panel. Use the trim tool to pry against the door frame and pop the clips while pulling the panel towards you. When all of them are released you can then lift up on the panel to unseat it from the top of the door but don’t let it go too far are there are connections behind the panel that must be disconnected while you hold the panel close to the door. They also use small retention tabs that you simply push inward and pull on the connector to release. There should be three in total with one being for the tweeter, one for the door lock LED and one for the door unlock/lock buttons. (Didn’t take a picture of them but it’s the same process as it was for the window switches.)
With the connectors removed, the panel will still be connected by the door handle. I recommend simply standing the door panel on it’s side with something next to it to prevent it from moving. The door handle is slightly trickier to remove and it’s not a necessary step.
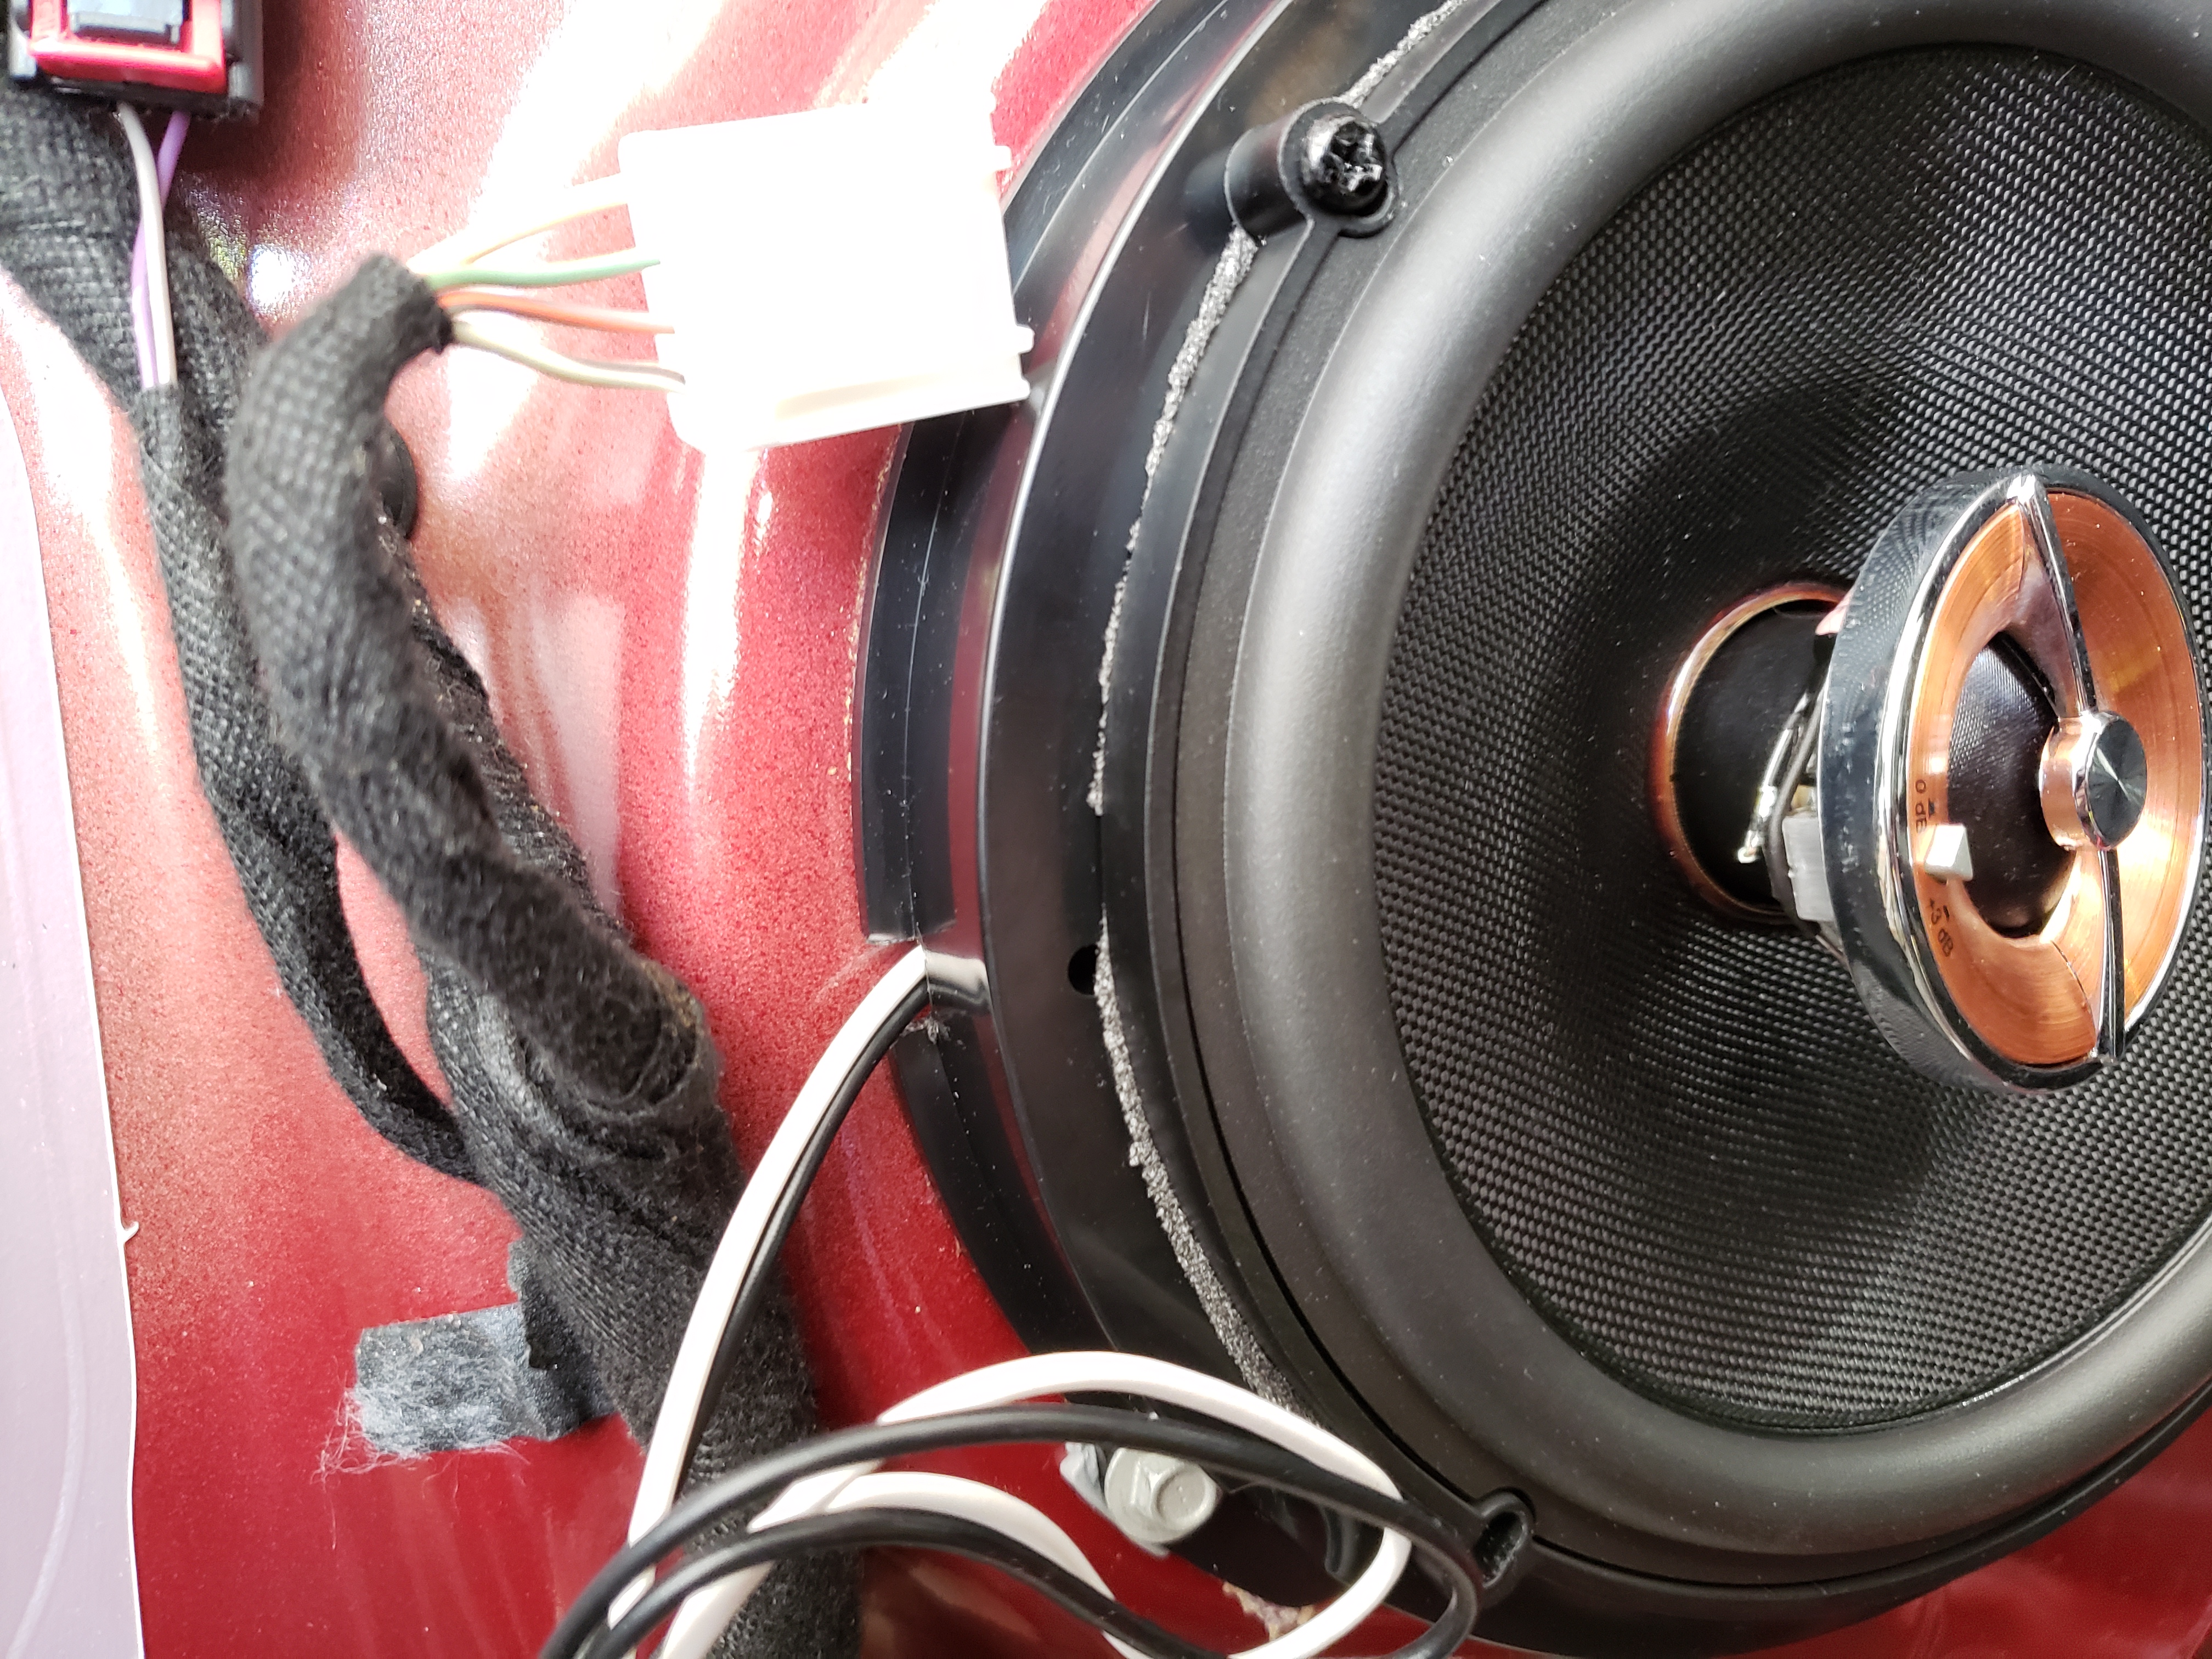
Now that the door panel is moved out of the way, you will be able to access the factory speaker. Start by removing the speaker’s power power that is connected to the side of the speaker’s bracket. Then proceed with removing the three 7mm bolts holding the speaker to the door frame. With all three removed, the speaker will still sit in the frame with the help of a few plastic retention tabs that only require you to pull the speaker and bracket away from the door. Image below shows the connector and the two retention tabs.

With the speaker removed you can get you new speakers ready for installation. Start by mounting the speaker into the aftermarket bracket/adapter and connect the leads from the aftermarket wire harness to the speaker.

Next you’ll need to make a cutout in the bracket for the wires to pass through, this is because the factory connection on the front side of the speaker and not the back. To do this I simply used a small vice-grip to tear two pieces out of the bracket. Because the ones linked above are softer/malleable ABS plastic, it’s possible to do this without cracking the bracket. Just be mindful you don’t apply too much force too quickly as it can still be damaged if not done carefully. I started by setting the vice-grip on the tightest setting and gripped the flat edge directly atop the speaker’s terminals. I then used gentle force to work the vice grip up and down to tear the piece off.

Once the first part is removed, re-position the vice grip to the take out another piece from the now accessible edge created using the same method. You’re essentially making an “L” in the bracket for the wire to pass through.

When both chunks are removed, the wires will be able to pass between the the door frame and the bracket without being pinched. Verify you have enough space before bolting the speaker to the door by holding the speaker to the door and making sure the wires can move in and out from the newly created space.
Once you’ve verified that the space is large enough, proceed with mounting the bracket with the speaker installed using the same 7mm bolts from the factory bracket. Then connect the aftermarket harness to the factory harness.

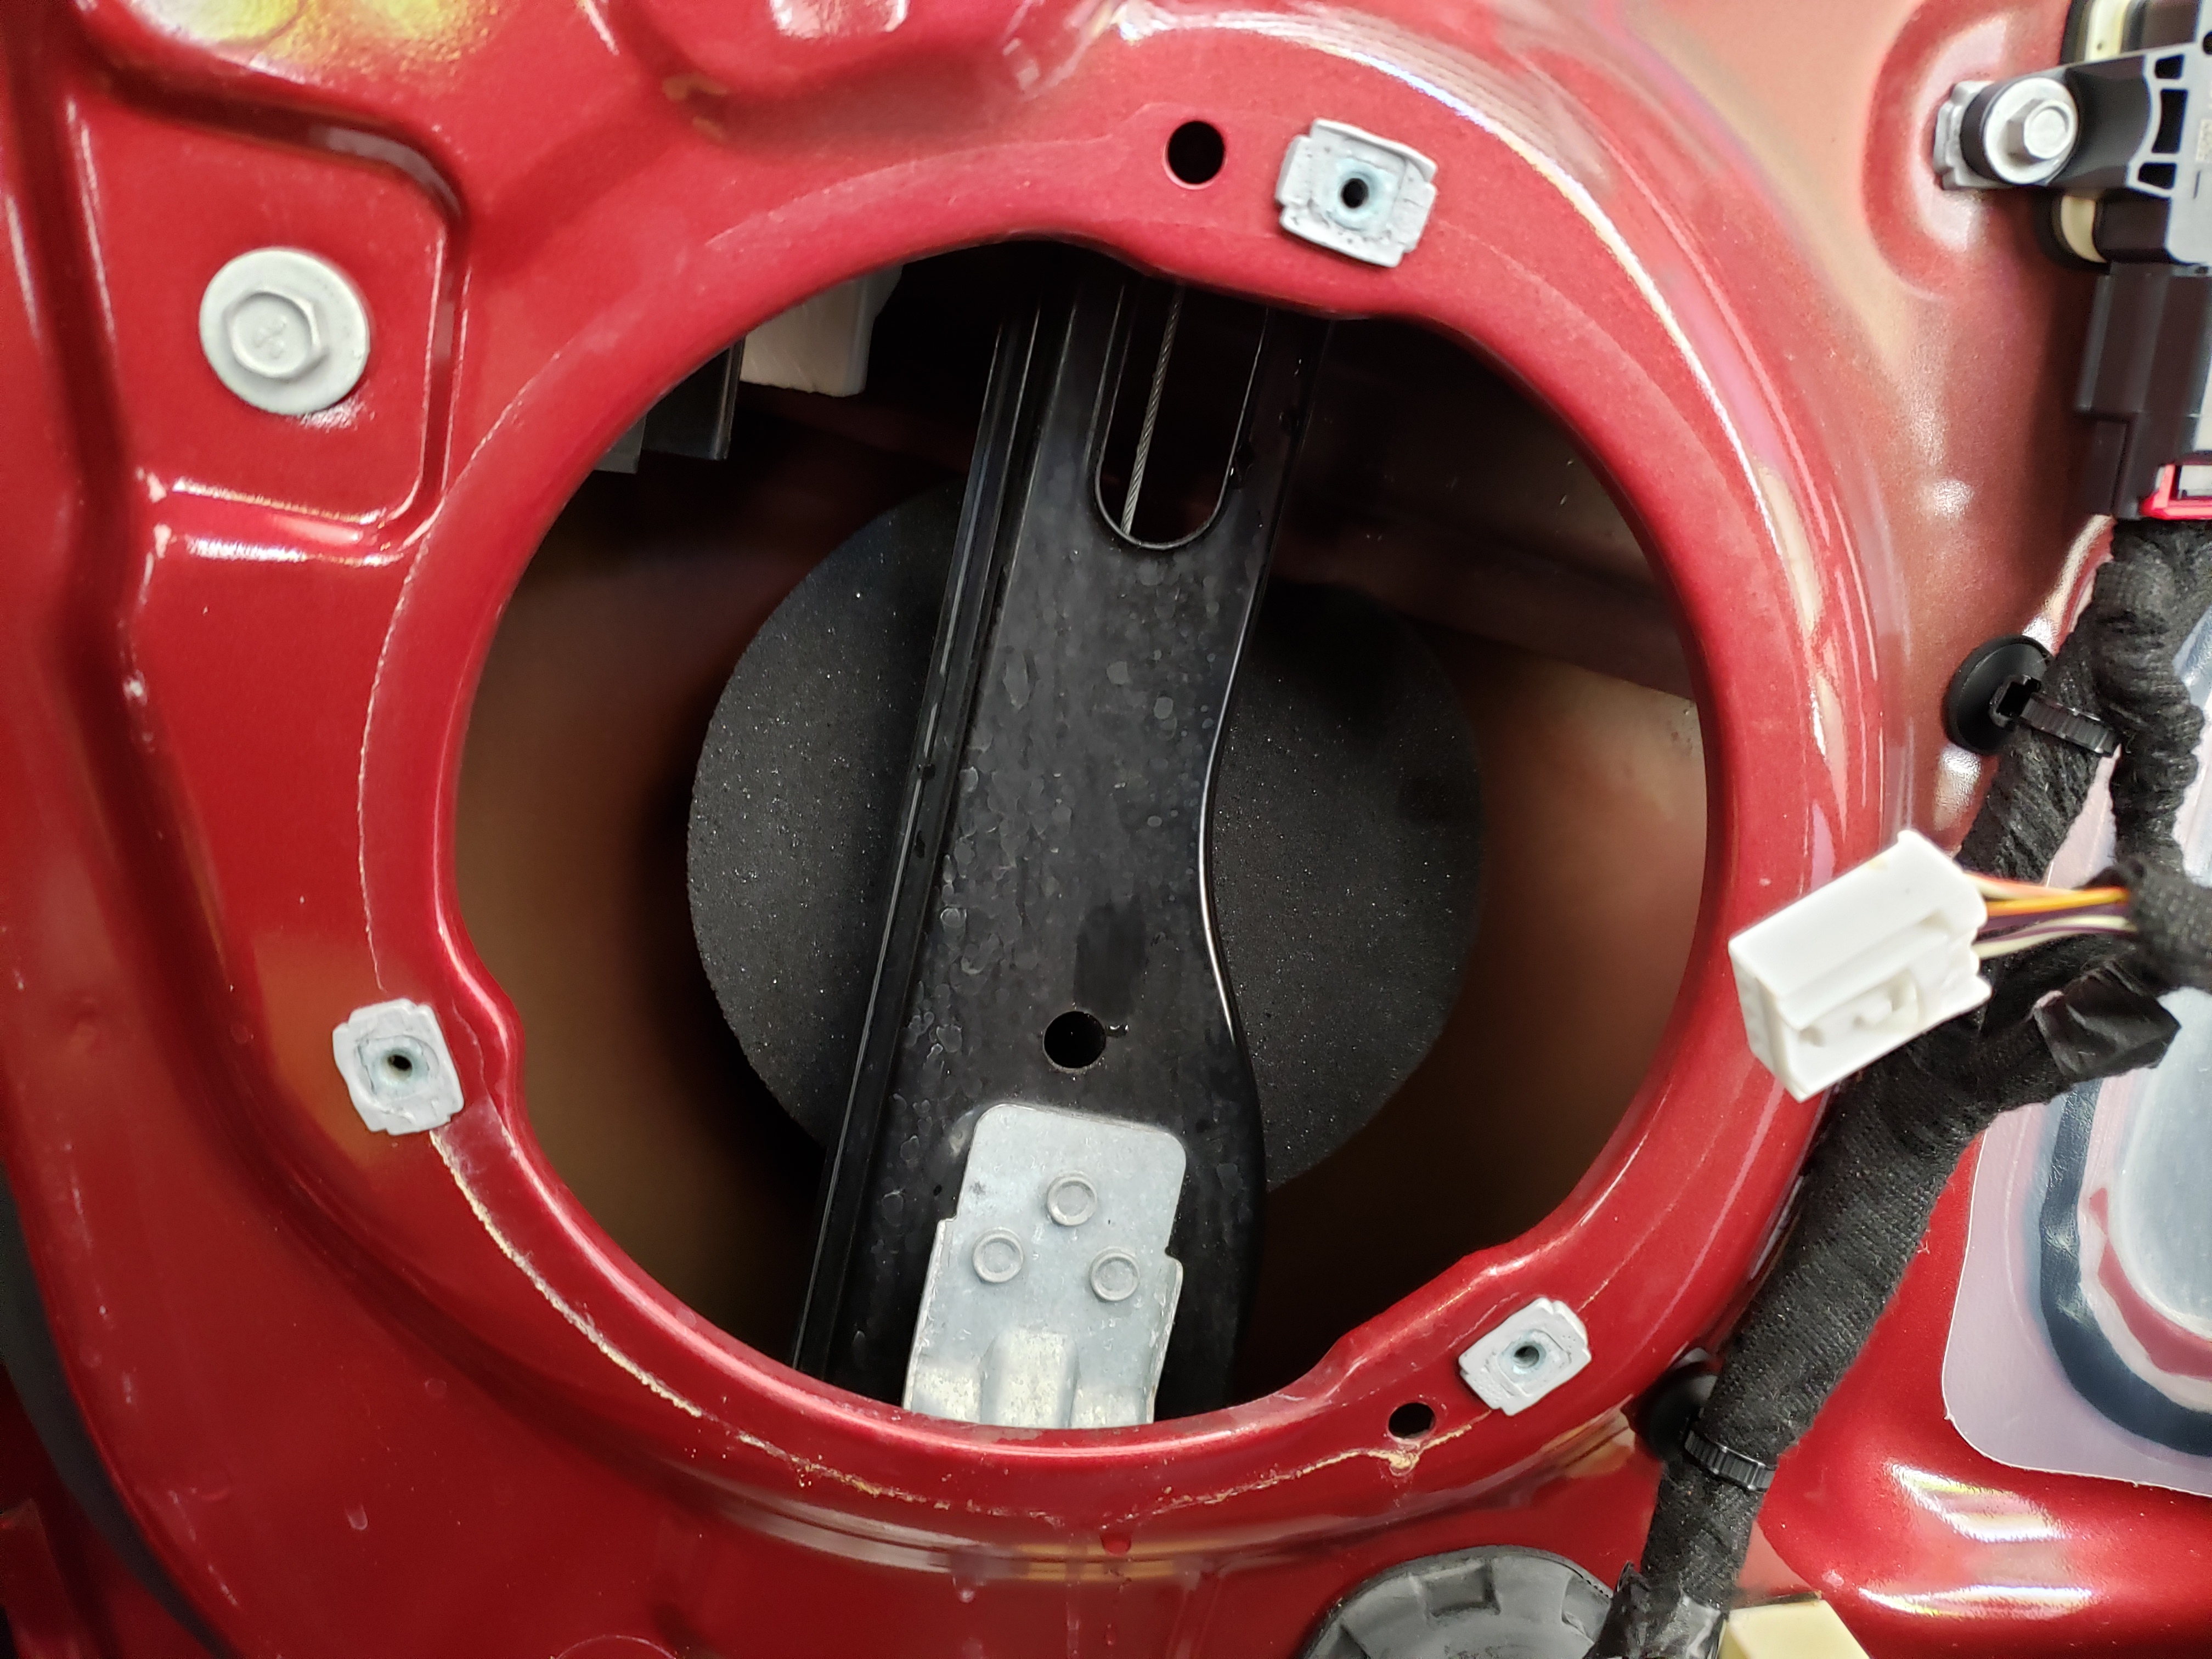
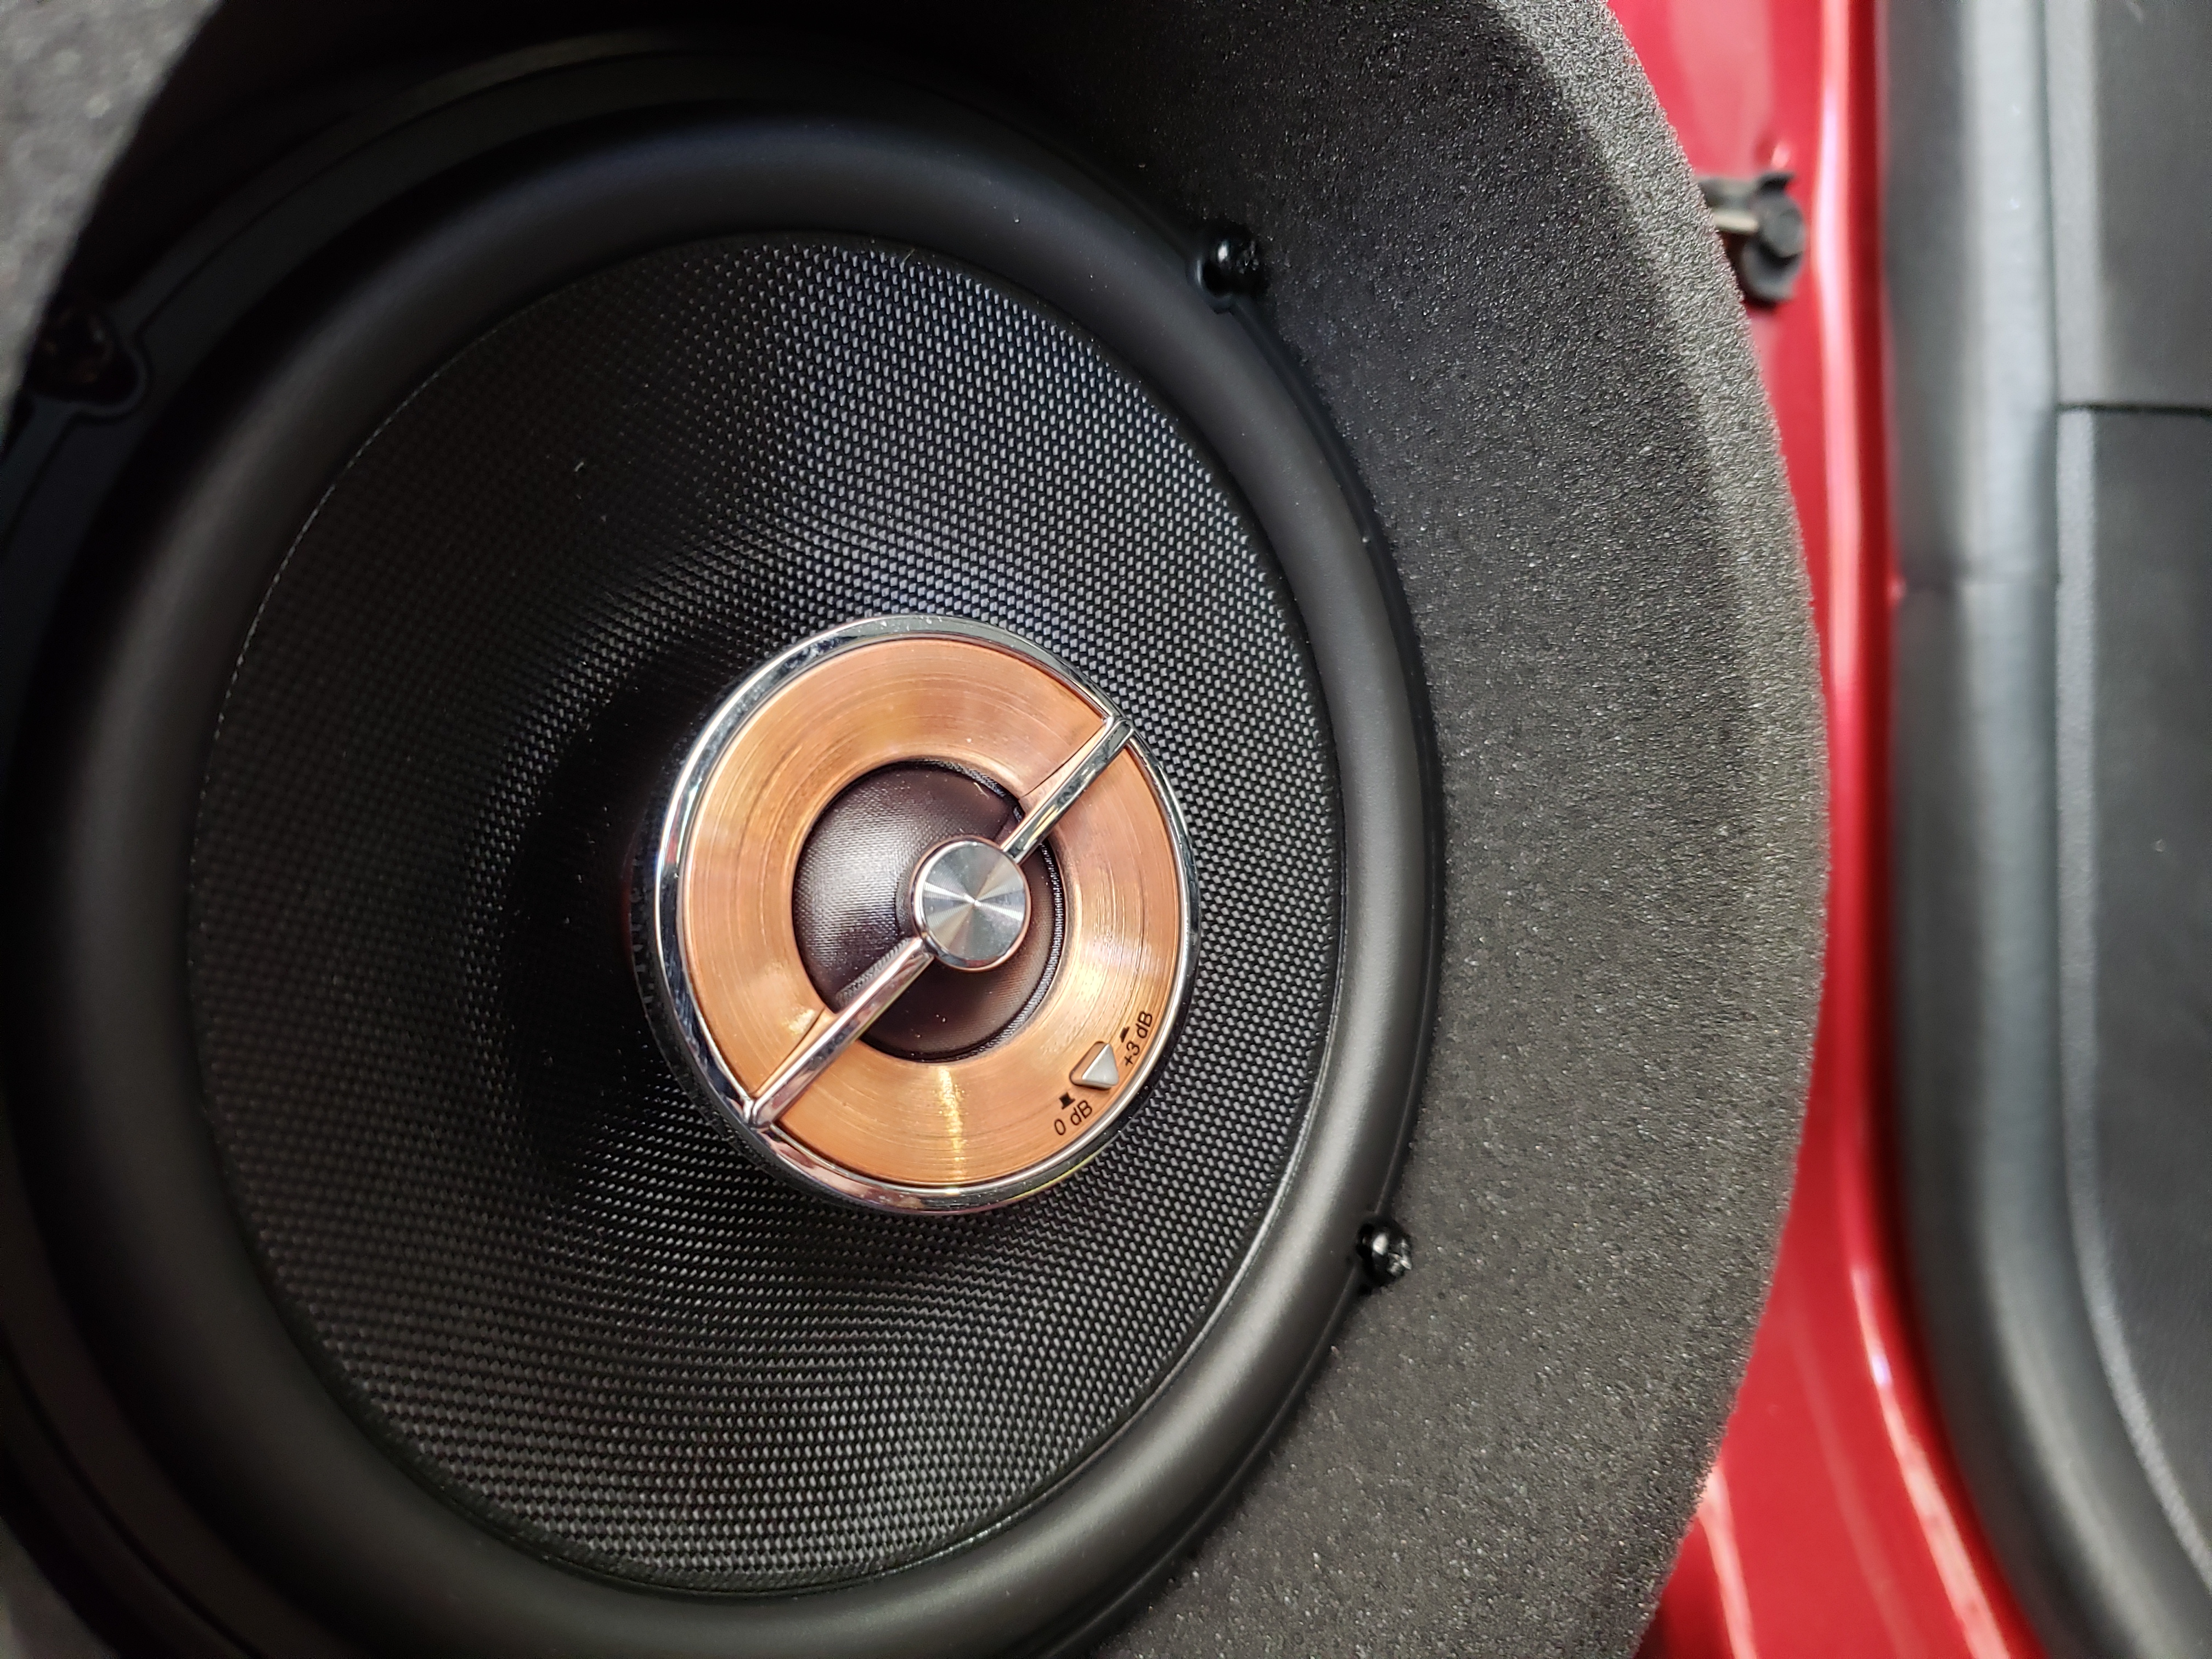
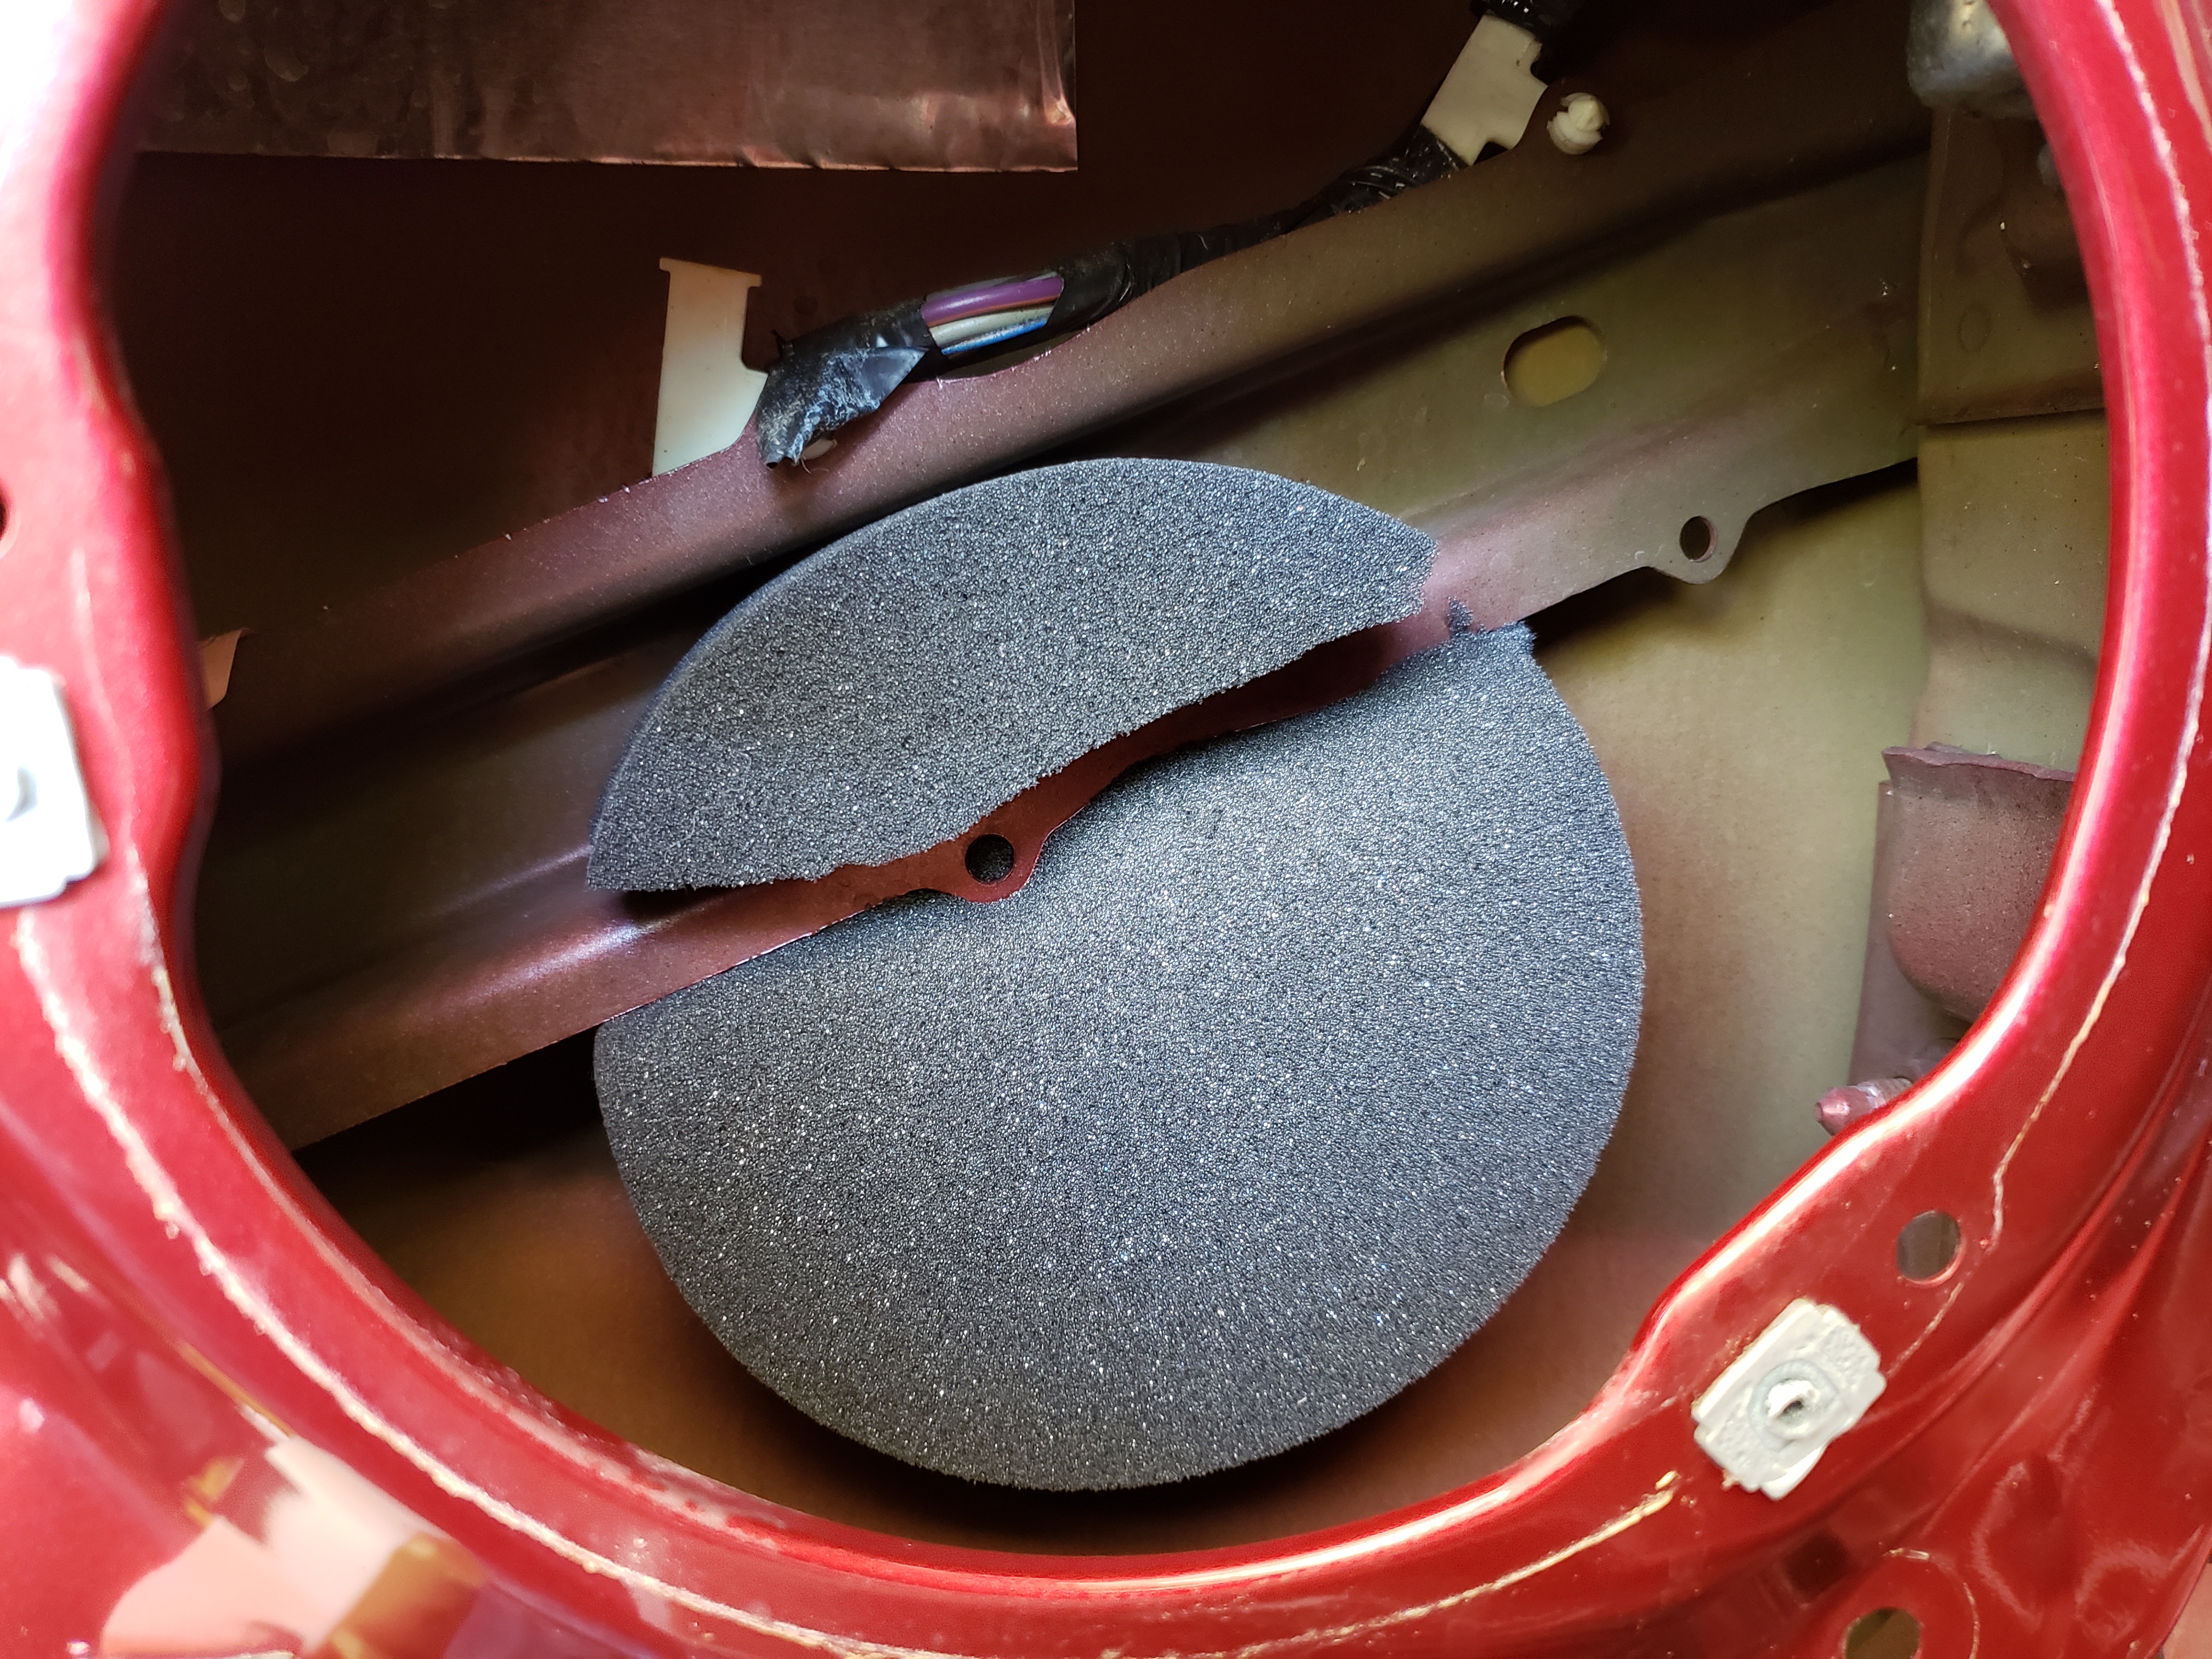
I had purchased FAST Rings to help direct the sound into the cabin and to help with retaining the mid-bass response. If you also bought them you can install them at the appropriate times during this process. If you’re unfamiliar with the product, they are closed-foam rings that have a solid center core that’s mounted on the inside of the door frame directly behind the speaker, a medium ring that is cut-down to use a gasket between the speaker and the bracket and a larger ring that goes around the outer edge of the speaker. These actually work quite well and were used during my installation. Examples of what they look like are shown next.
If this helps even a single person, the time to make this tutorial (my first ever) will have been well spent. I hope you have fun and enjoy your new speakers!
